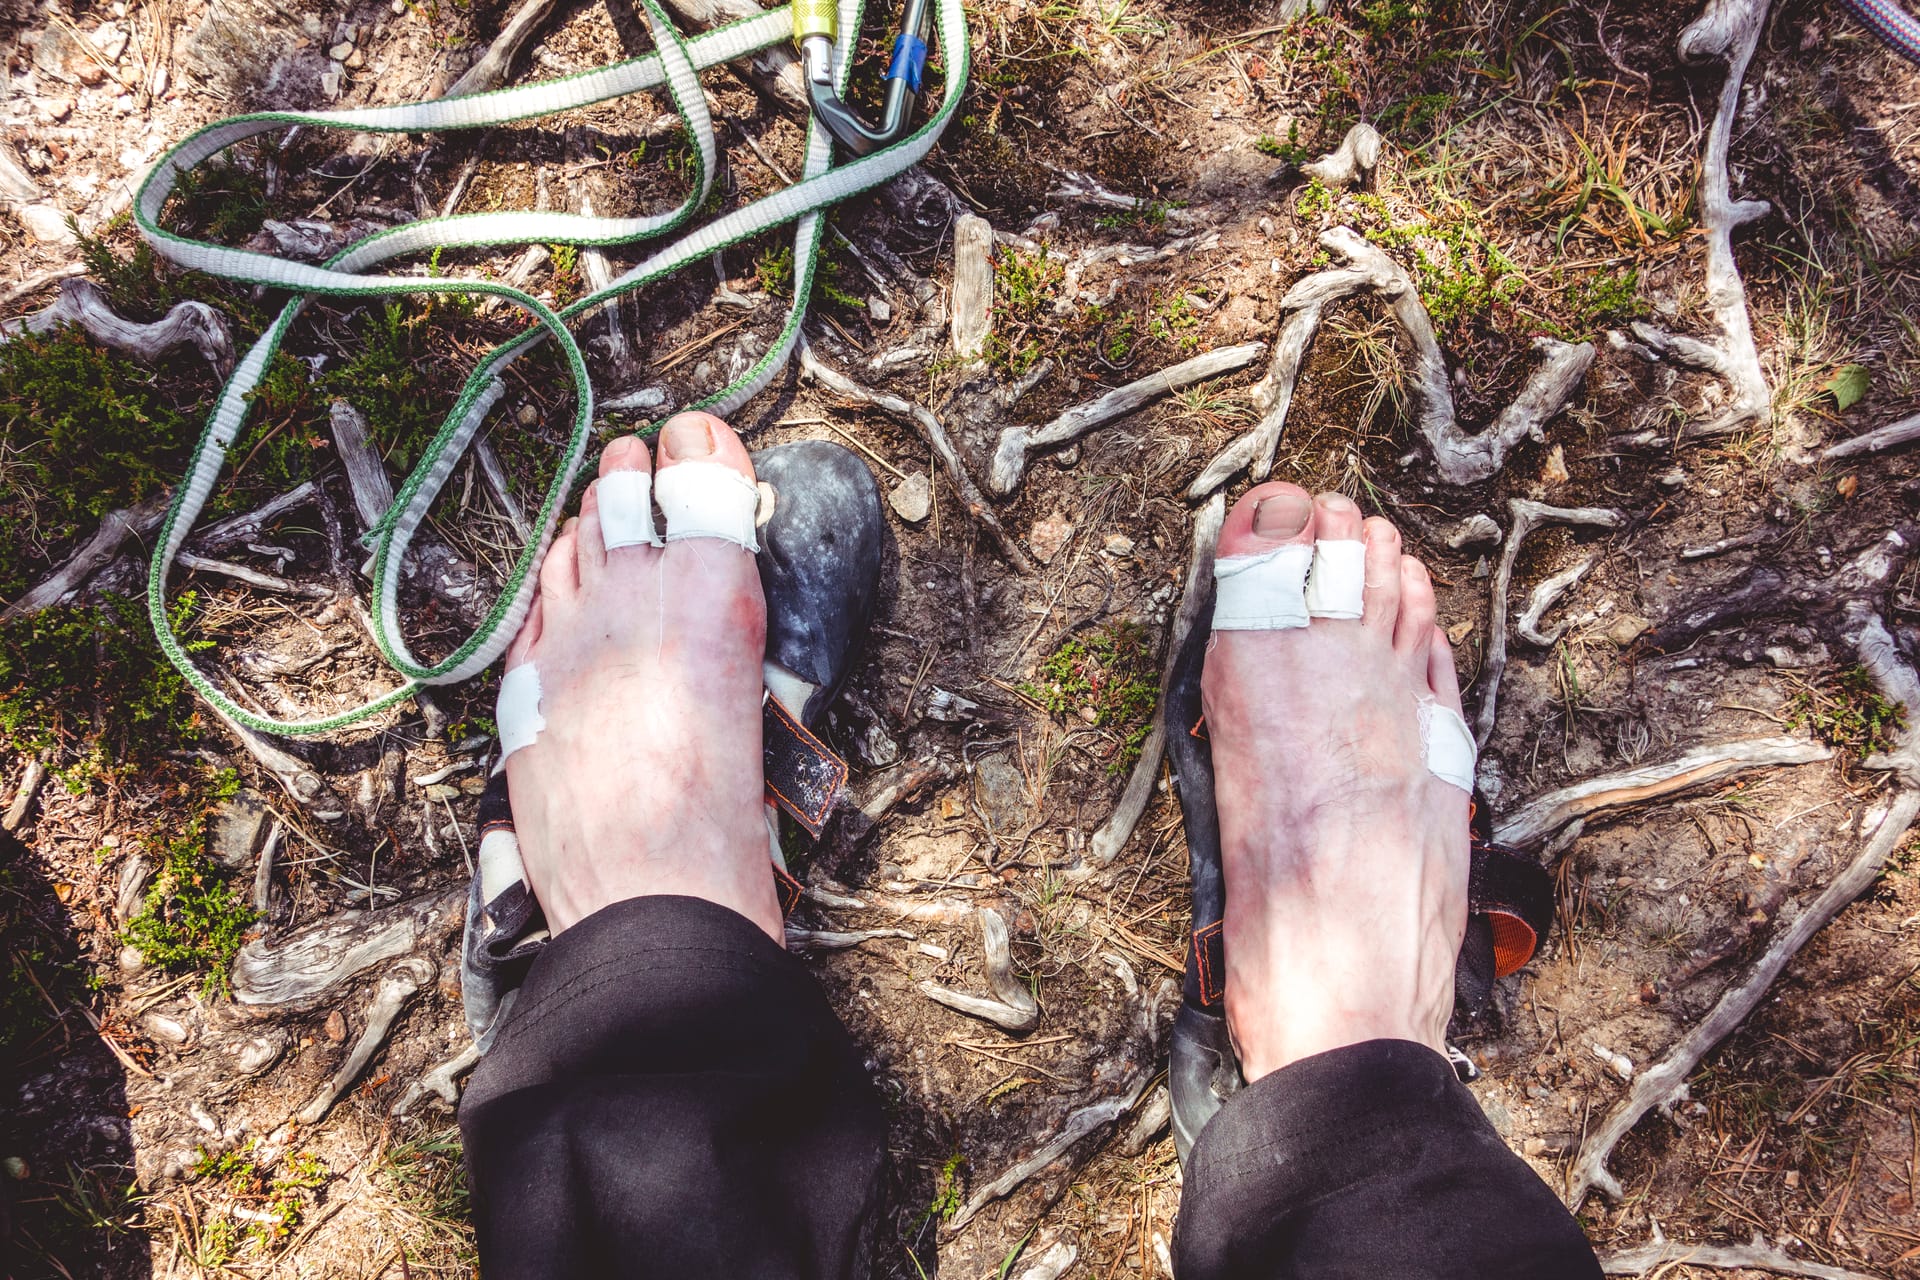
A blister seems small, but on the go it can quickly ruin your trip. What starts as a warm spot on your foot sometimes turns into pain with every step within an hour. Especially during longer walks or day trips, you notice how big the difference is between simply walking on or constantly having to account for your feet.
Preventing blisters while hiking does not start at the moment you feel pain. It starts earlier - with what you wear, how you set off and what you bring along. With a few practical choices you greatly reduce the chance of problems.
In this blog you will read how blisters form, how to prevent them and what is wise to have with you if you do run into trouble while hiking.
Why do you get blisters while hiking?
Blisters usually form from repeated friction on the same spot. Your skin gets irritated by pressure, movement, moisture or heat. If that strain continues long enough, a blister forms.
In practice that often happens through a combination of factors:
- shoes that do not fit well
- socks that rub or hold moisture
- warm or wet feet
- long strain without a break
- sand, dirt or folds in your socks
- a foot that keeps sliding in your shoe
So a blister is rarely pure bad luck. Usually it is a signal that something somewhere is not working well together.
Where do blisters form most often?
While hiking, blisters usually form in spots where pressure and movement come together.
The most common zones are:
- heel
- toes
- ball of the foot
- side of the foot
- top of the toes with shoes that are too tight
That is exactly why it helps to look not only at your shoes, but at the whole system of foot, sock and shoe.
Preventing blisters starts with well-fitting shoes
The biggest gain usually lies in shoes that fit your feet and use well. That means not only that the size is right, but also that the shoe gives enough support, does not slide too much and leaves room where needed.
Pay particular attention to these points:
Enough room at the toes
Your toes should not be cramped, certainly not during descents or longer walks. Too little room gives extra pressure and increases the chance of irritation.
Not too loose around the heel
If your heel keeps moving, friction soon develops. You often feel that first as a warm or tender spot at the back of the foot.
Suited to your type of walk
A shoe that works fine for short walks in the city does not have to be comfortable on longer routes or uneven terrain. The more intensive your use, the more important fit and stability become.
Broken-in shoes
Taking new shoes straight onto a long walk is one of the fastest ways to run into problems. Break them in gently first during shorter outings.
Well-fitting shoes do not solve everything, but poor shoes do make blisters much more likely.
Good hiking socks make more difference than many people think
Socks are often underestimated, while they directly affect moisture regulation, friction and comfort. A good sock helps keep your foot drier and more stable. A poor sock increases the chance of rubbing, folds and pressure points.
With socks, watch for:
- a good fit without folds
- material that wicks moisture better
- enough comfort without becoming too thick
- a fit that does not slide down while walking
Cotton socks are usually less practical for longer walks, because they hold moisture. As soon as your feet get damper, the chance of friction often increases.
Keep your feet as dry as possible
Moisture and heat increase the chance of blisters. That makes dry feet one of the most important points of attention while hiking.
You help yourself by:
- wearing socks that wick moisture
- choosing shoes that suit the conditions
- changing wet socks when needed
- letting your feet air out during a break
- acting quickly as soon as you notice a spot getting warm or tender
On warm days or during more intensive routes this is extra important. The longer moisture and friction keep working together, the greater the chance that a small irritation becomes a real blister.
React immediately to a warm spot
Many blisters do not form all at once. Often you feel beforehand that something is not right. A spot gets warm, tender or starts to rub. That is the moment where you make the difference.
The mistake many people make is walking on in the hope that it is not too bad. In practice it usually gets worse then.
Notice a warm spot? Then do this:
- stop in time
- check your sock and shoe
- remove dirt or small stones
- pull your sock smooth if it has shifted
- protect the spot before a real blister forms
Acting early costs little time. Acting too late often costs comfort for the rest of your trip.

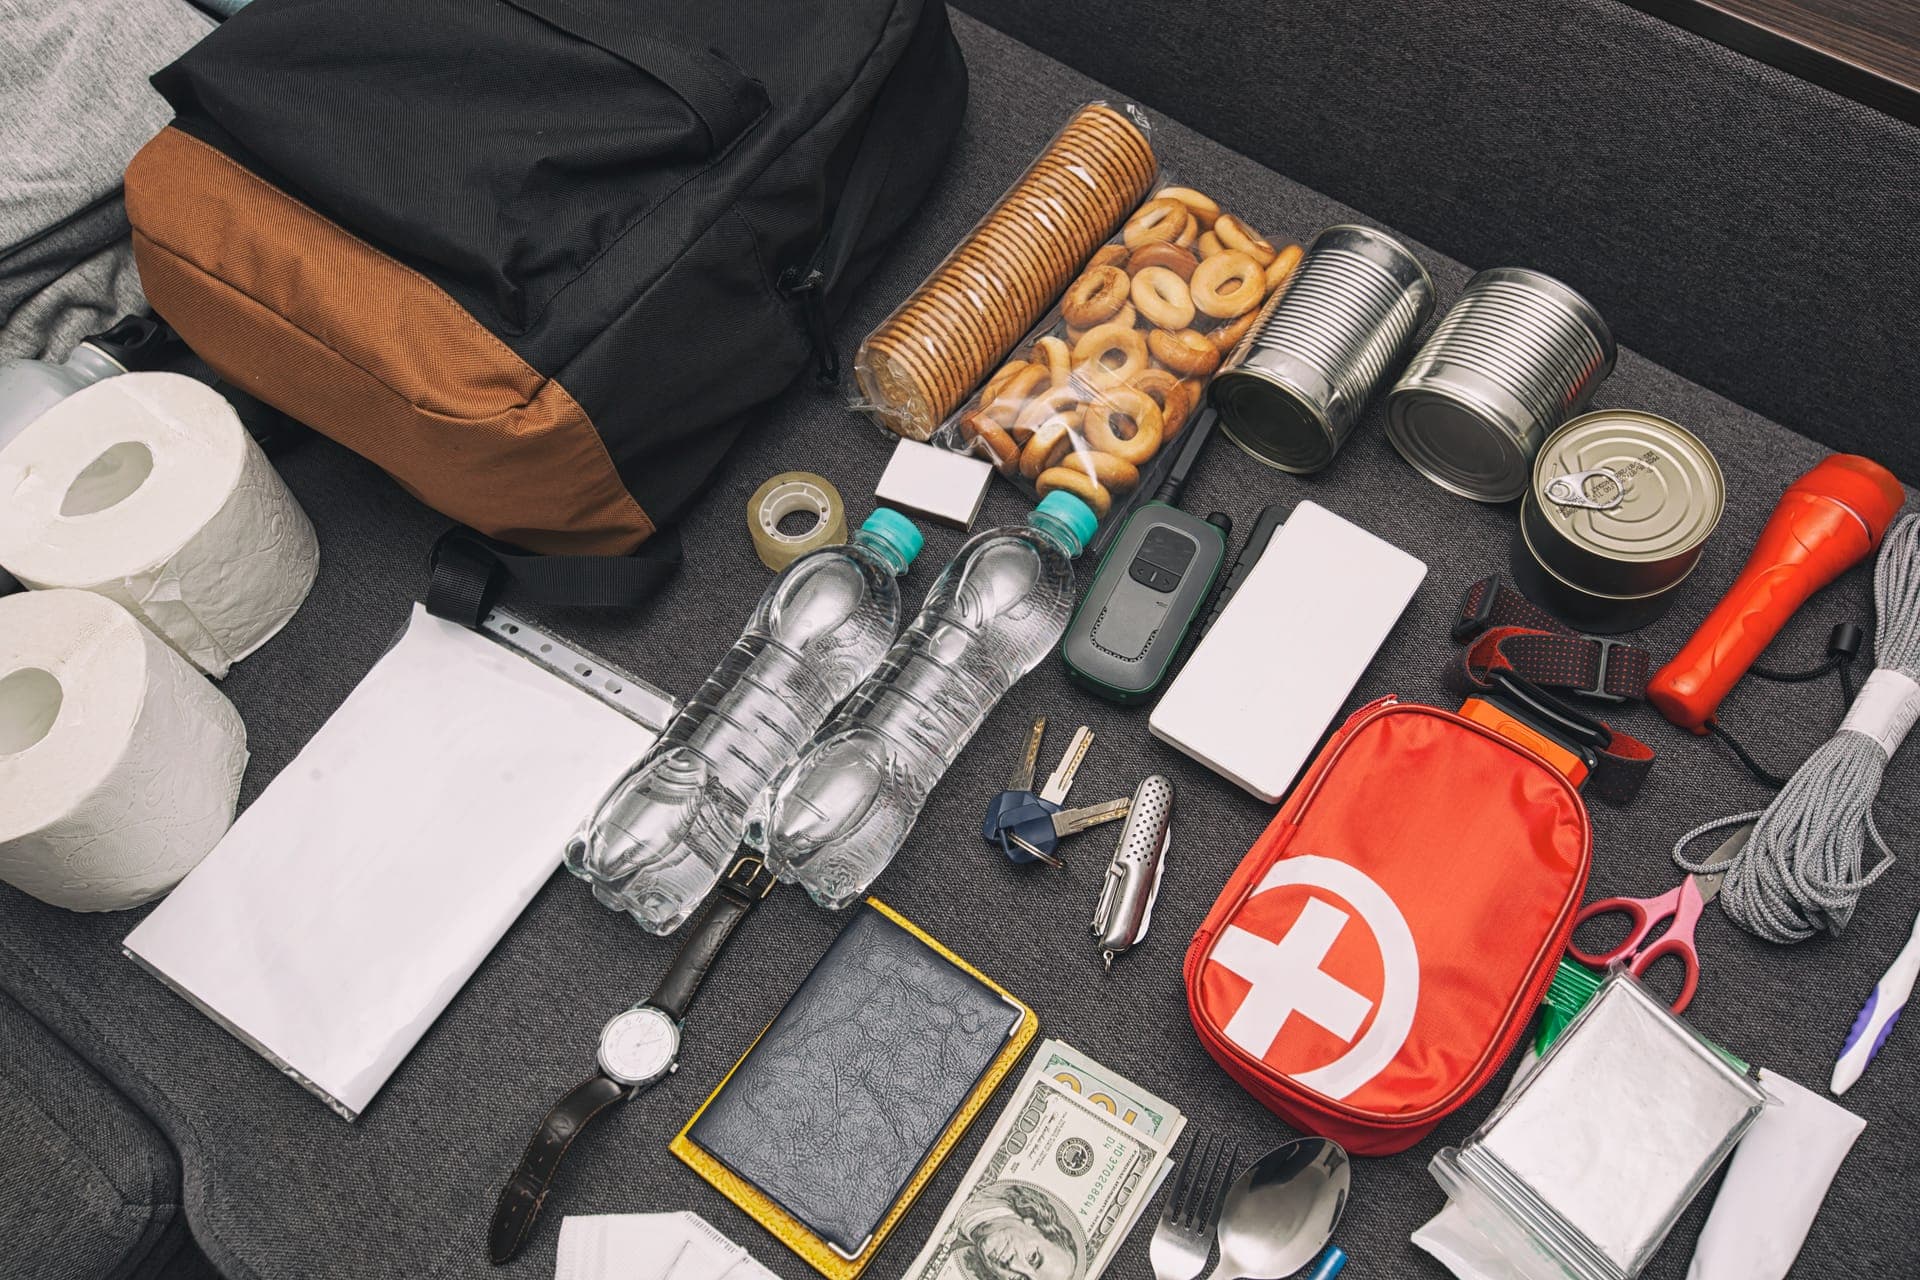
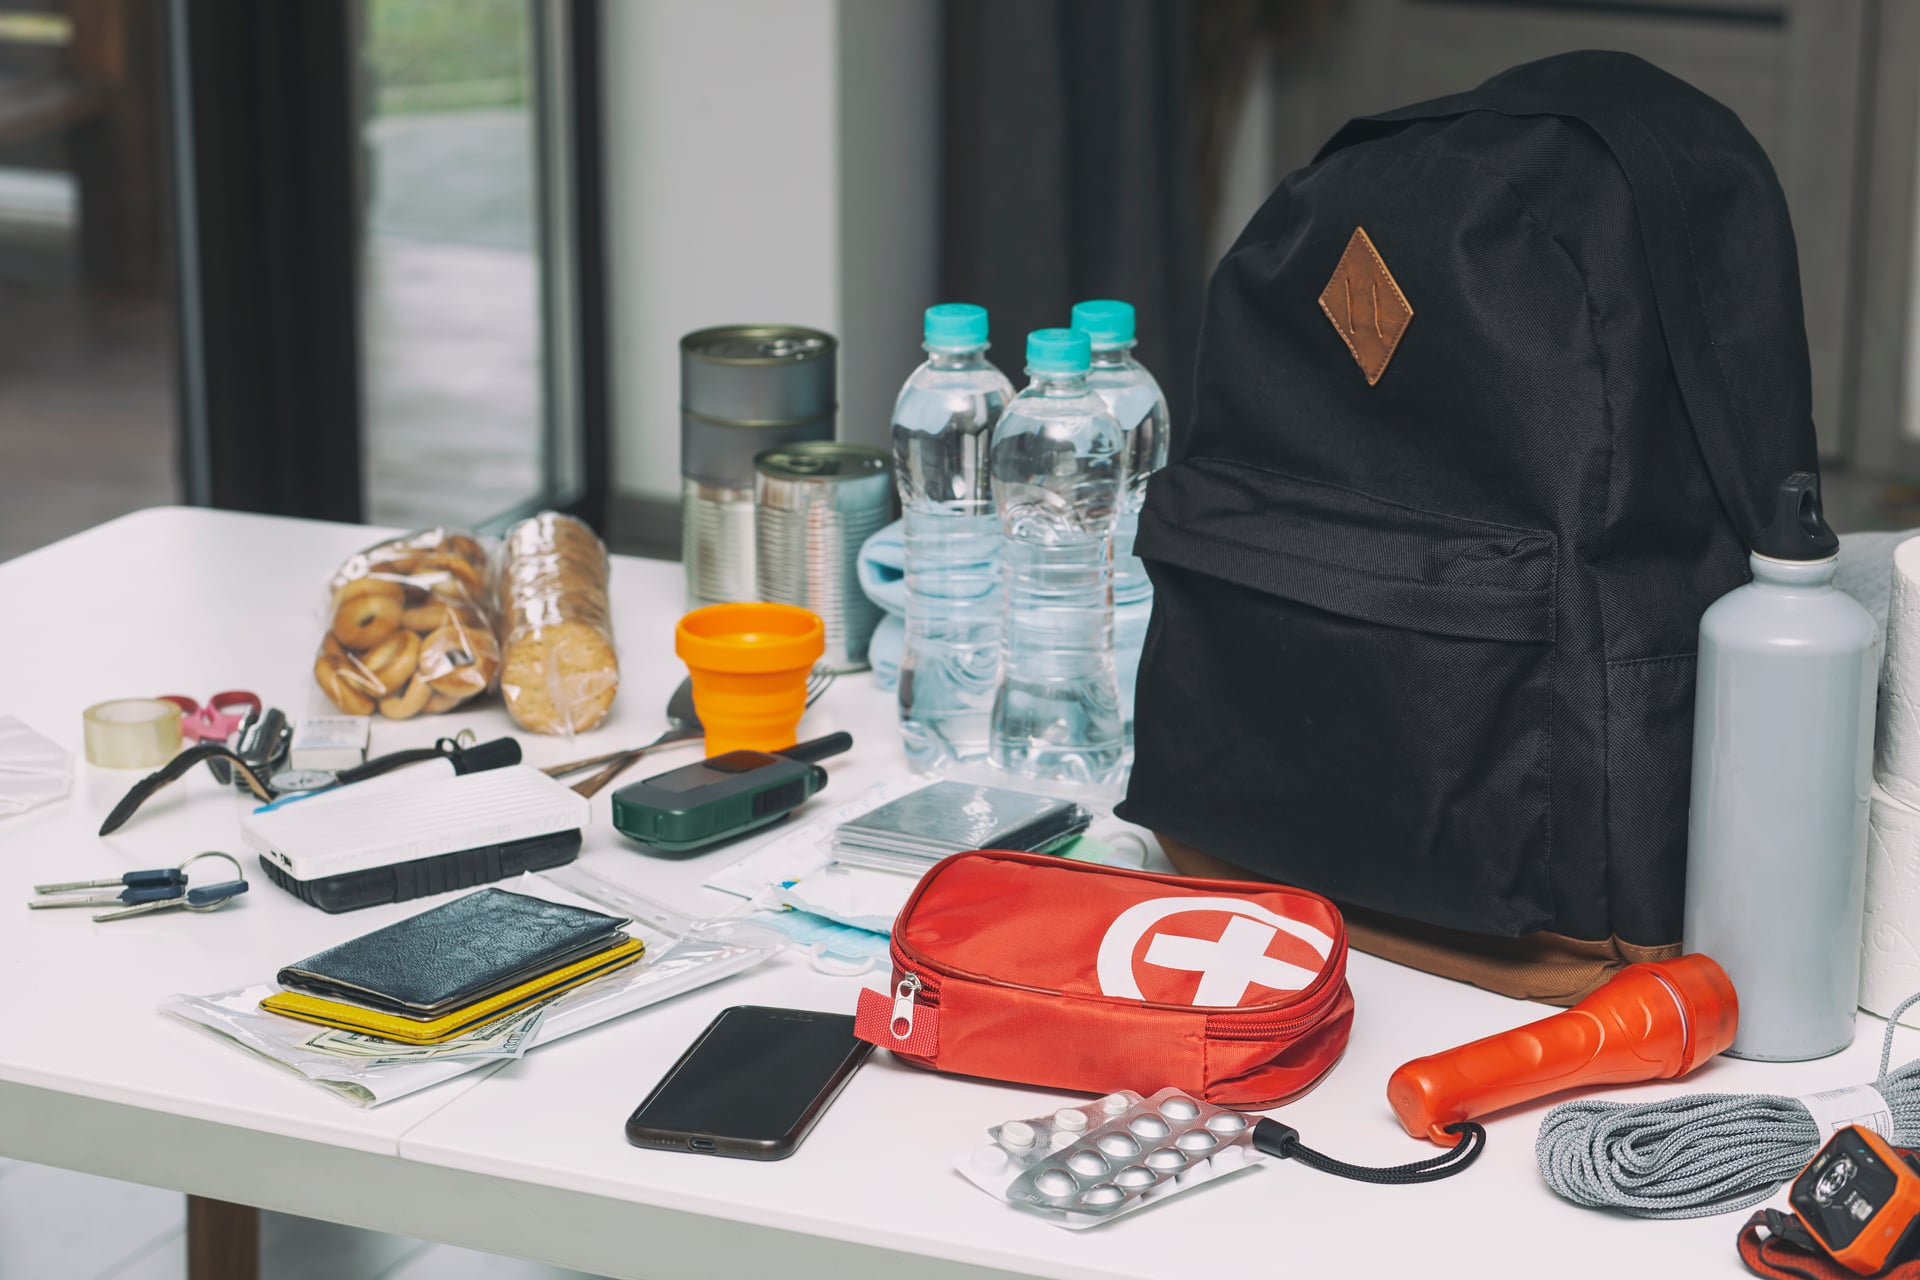
What do you bring against blisters while hiking?
You do not need to bring extensive medical equipment, but a small basic set against blisters is smart. Certainly on day trips, hikes or walks where you are out for a longer time.
Handy to bring:
- blister plasters
- regular plasters
- disinfecting wipes
- small scissors or a compact tool if practical
- tape or fixation material
- possibly an extra pair of socks
What matters most is not how much you bring, but whether it makes sense for the trail. A compact, clearly organised set usually works better than loose items that disappear somewhere at the bottom of your bag.
Check out our medical kits or read our blog about a compact first aid kit for the go.
Want to go beyond blister care? A complete trauma kit also covers more serious injury on the go.
How do you prepare your feet for a longer walk?
For longer or more intensive walks, preparation beforehand helps. Not complicated, but practical.
Take care of your feet
Dry, rough or damaged skin can react more sensitively to pressure and friction. Regular basic care helps keep your feet in better condition.
Trim your toenails in time
Toenails that are too long can put pressure inside your shoes, certainly on descents or longer routes.
Test your combination of shoes and socks
Do not wait until a longer trip to discover that something rubs. Test combinations first on shorter walks.
Build up the strain gradually
If you normally walk little, a long trip without build-up is harder on your feet. More strain often also means more chance of friction and fatigue.
What do you do if you still get a blister while hiking?
Even with good preparation you can still run into trouble. Then the most important thing is to protect the spot and limit further irritation.
What you best do on the go:
- stop in time
- take the pressure off the spot
- dry the skin if needed
- cover the spot with a suitable plaster or protection
- check whether your sock or shoe remains the cause
The goal is simple: prevent the spot from rubbing further open while you are still walking.
For most hikers it is not necessary to do much on the go, as long as you react quickly and protect the spot.
Common mistakes that cause blisters
Walking on too long with a tender spot
This is probably the most common mistake. What starts small often gets bigger on the go.
Using new shoes intensively straight away
Even if the fit seems good, you first need to experience how a shoe behaves under strain.
Wearing the wrong or worn-out socks
Socks that slide down, form folds or hold moisture increase the chance of problems.
Not bringing a small first aid set
Not because you need a complete emergency kit, but because a few targeted basics make a lot of difference on the go.
Only looking at shoes
Blisters often form through the combination of shoe, sock, moisture, heat and walking duration. It is rarely just one factor.
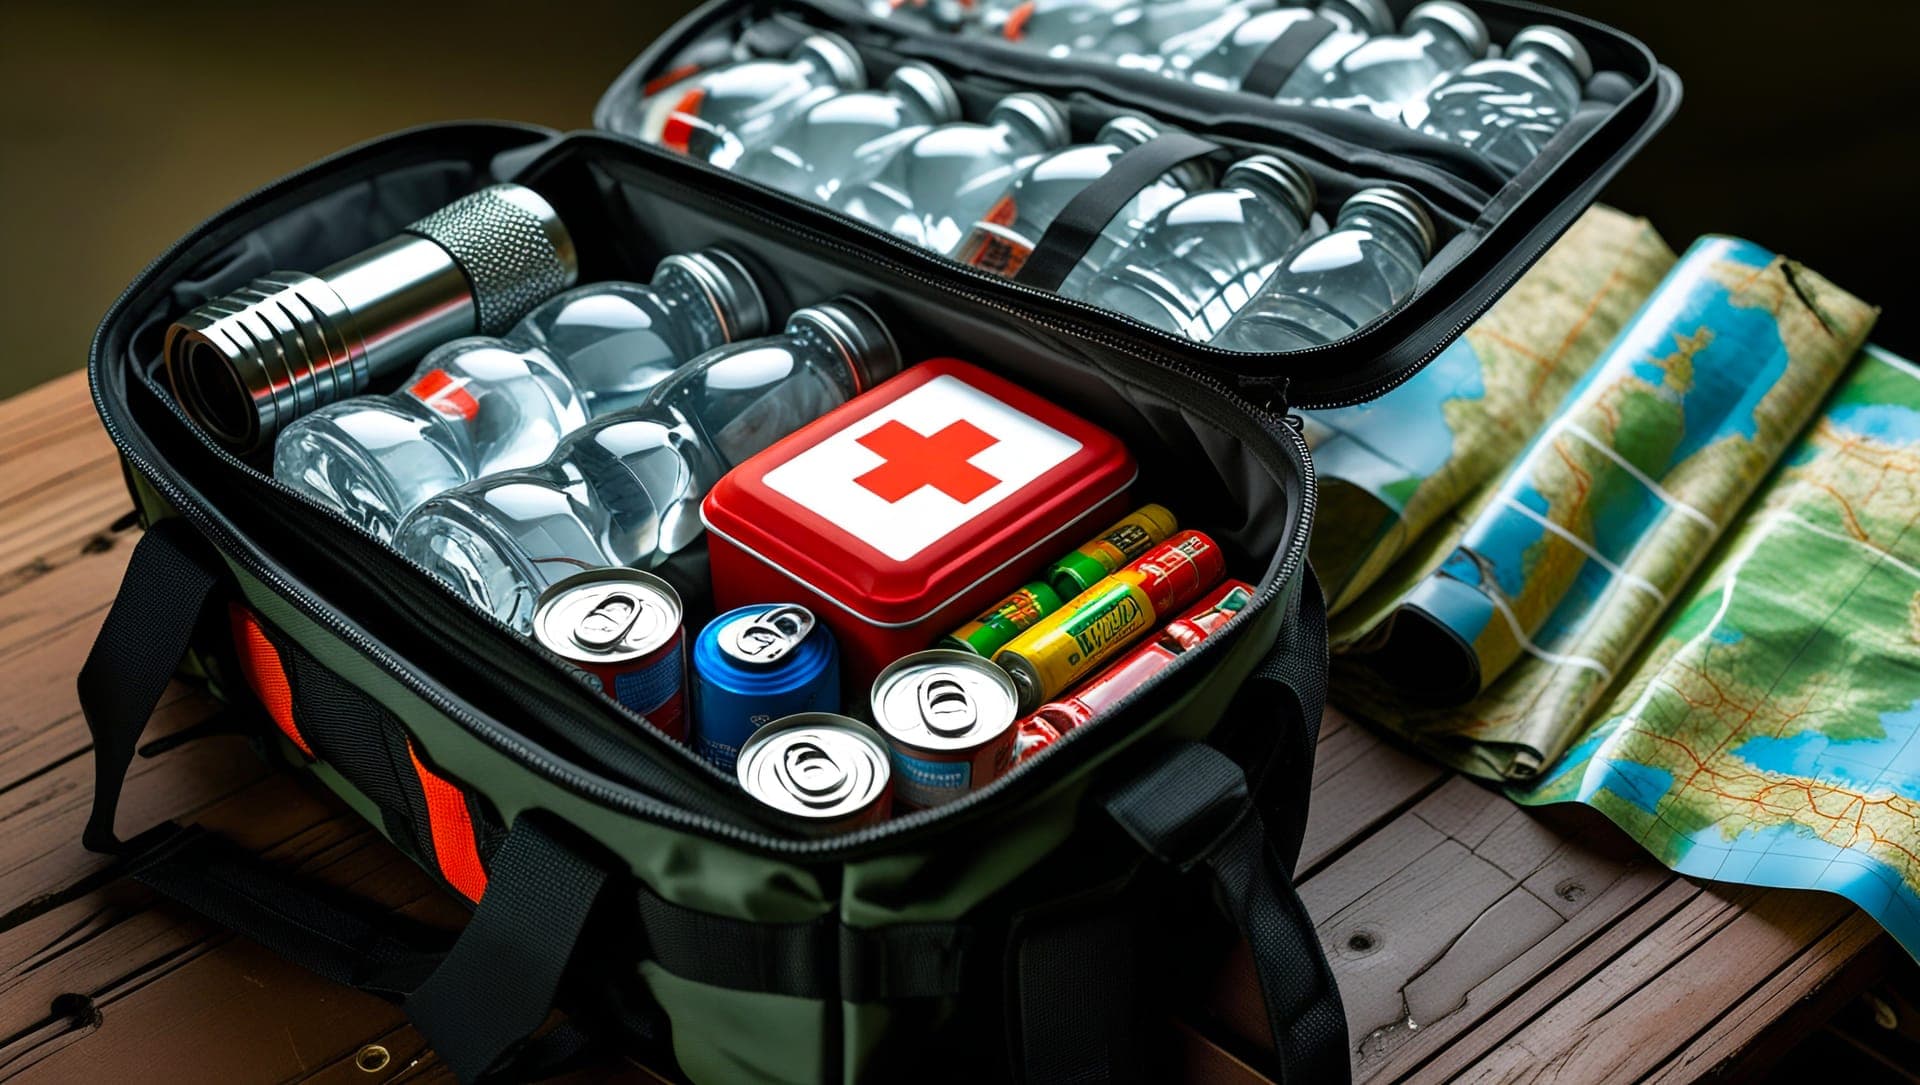
When is a compact first aid kit really handy?
A compact first aid kit is especially handy when you:
- are out for a longer time
- walk a route without quick facilities
- are on your feet for several hours
- want to be prepared for minor discomforts
- do not want to depend on chance
Preventing blisters while hiking is mainly smart preparation
You do not prevent blisters with a trick. Usually it is a sum of practical choices:
- shoes that fit well
- socks that work comfortably
- keeping your feet dry
- reacting in time to irritation
- bringing a small set for the go
That sounds simple, and it is. It is precisely the simple things that make the difference on the go.
Anyone who hikes regularly knows that comfort is not only in big equipment or technical details. It is often in small choices that make sure everything works logically when you are out for hours.
Summary: how to prevent blisters while hiking
Blisters while hiking usually form from friction, moisture, heat and pressure. You reduce the chance by:
- wearing well-fitting shoes
- choosing socks that do not rub or hold moisture
- keeping your feet as dry as possible
- taking warm spots seriously straight away
- bringing a compact first aid set for the go
You do not need to set off heavily loaded for that. But it does help to choose deliberately what you wear and what you have with you.
That is ultimately what preparation is about: less hassle on the go and more confidence in your gear.
Frequently asked questions
How do you prevent blisters while hiking?
You prevent blisters mainly by wearing well-fitting shoes, choosing suitable socks, keeping your feet dry and reacting immediately to warm or tender spots.
What helps against blisters while hiking?
On the go, quick measures help most, such as checking where the friction comes from, protecting the skin with a blister plaster and preventing the spot from rubbing further.
Why do I always get blisters while hiking?
That often comes from a combination of fit, moisture, heat and friction. Usually it is not one thing that causes it, but several factors working together.
Should you pierce a blister while hiking?
With a starting or closed blister, the focus on the go is usually on protecting it and limiting further friction. Reacting quickly and covering it is often more important than doing a lot.
What do you bring against blisters on a hike?
Handy are blister plasters, regular plasters, disinfecting wipes, tape and possibly an extra pair of socks. A compact first aid kit is often the most practical solution for that.
Want to set off prepared with gear that works logically for minor discomforts on the go? Check out the RidgeFront Gear selection.
Medical kits → | Outdoor backpacks → | Water bottles & water carriers → | Tactical backpacks →