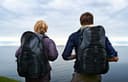
Drinking enough is one of the things that can make or break a trip. Too little water and you wear yourself out; too much and you carry needless weight. So the question is not only how much you bring, but also how you carry it so that you actually keep using it along the way. In this overview we list the main forms, look at roughly how much water you need, how a hydration bladder works in your backpack and how you keep your drinking system clean and mould-free.
The common thread is practical: choose a way of carrying water that suits how and how long you are out, and keep it in good shape so it does what it is meant to do. We keep it concrete and without empty promises; the goal is that afterwards you know which approach fits your kind of trips.
How you carry water: the two main forms
There are roughly two ways to carry water on the go: the separate bottle or flask, and the hydration bladder that you carry in your backpack and drink from through a tube. Both work fine; they simply suit different situations and preferences. Below we briefly describe what each form involves, so you have the broad picture clear. The in-depth comparison, with the trade-off of when each form makes more sense, is in a separate overview that we refer to further on.
The bottle or flask
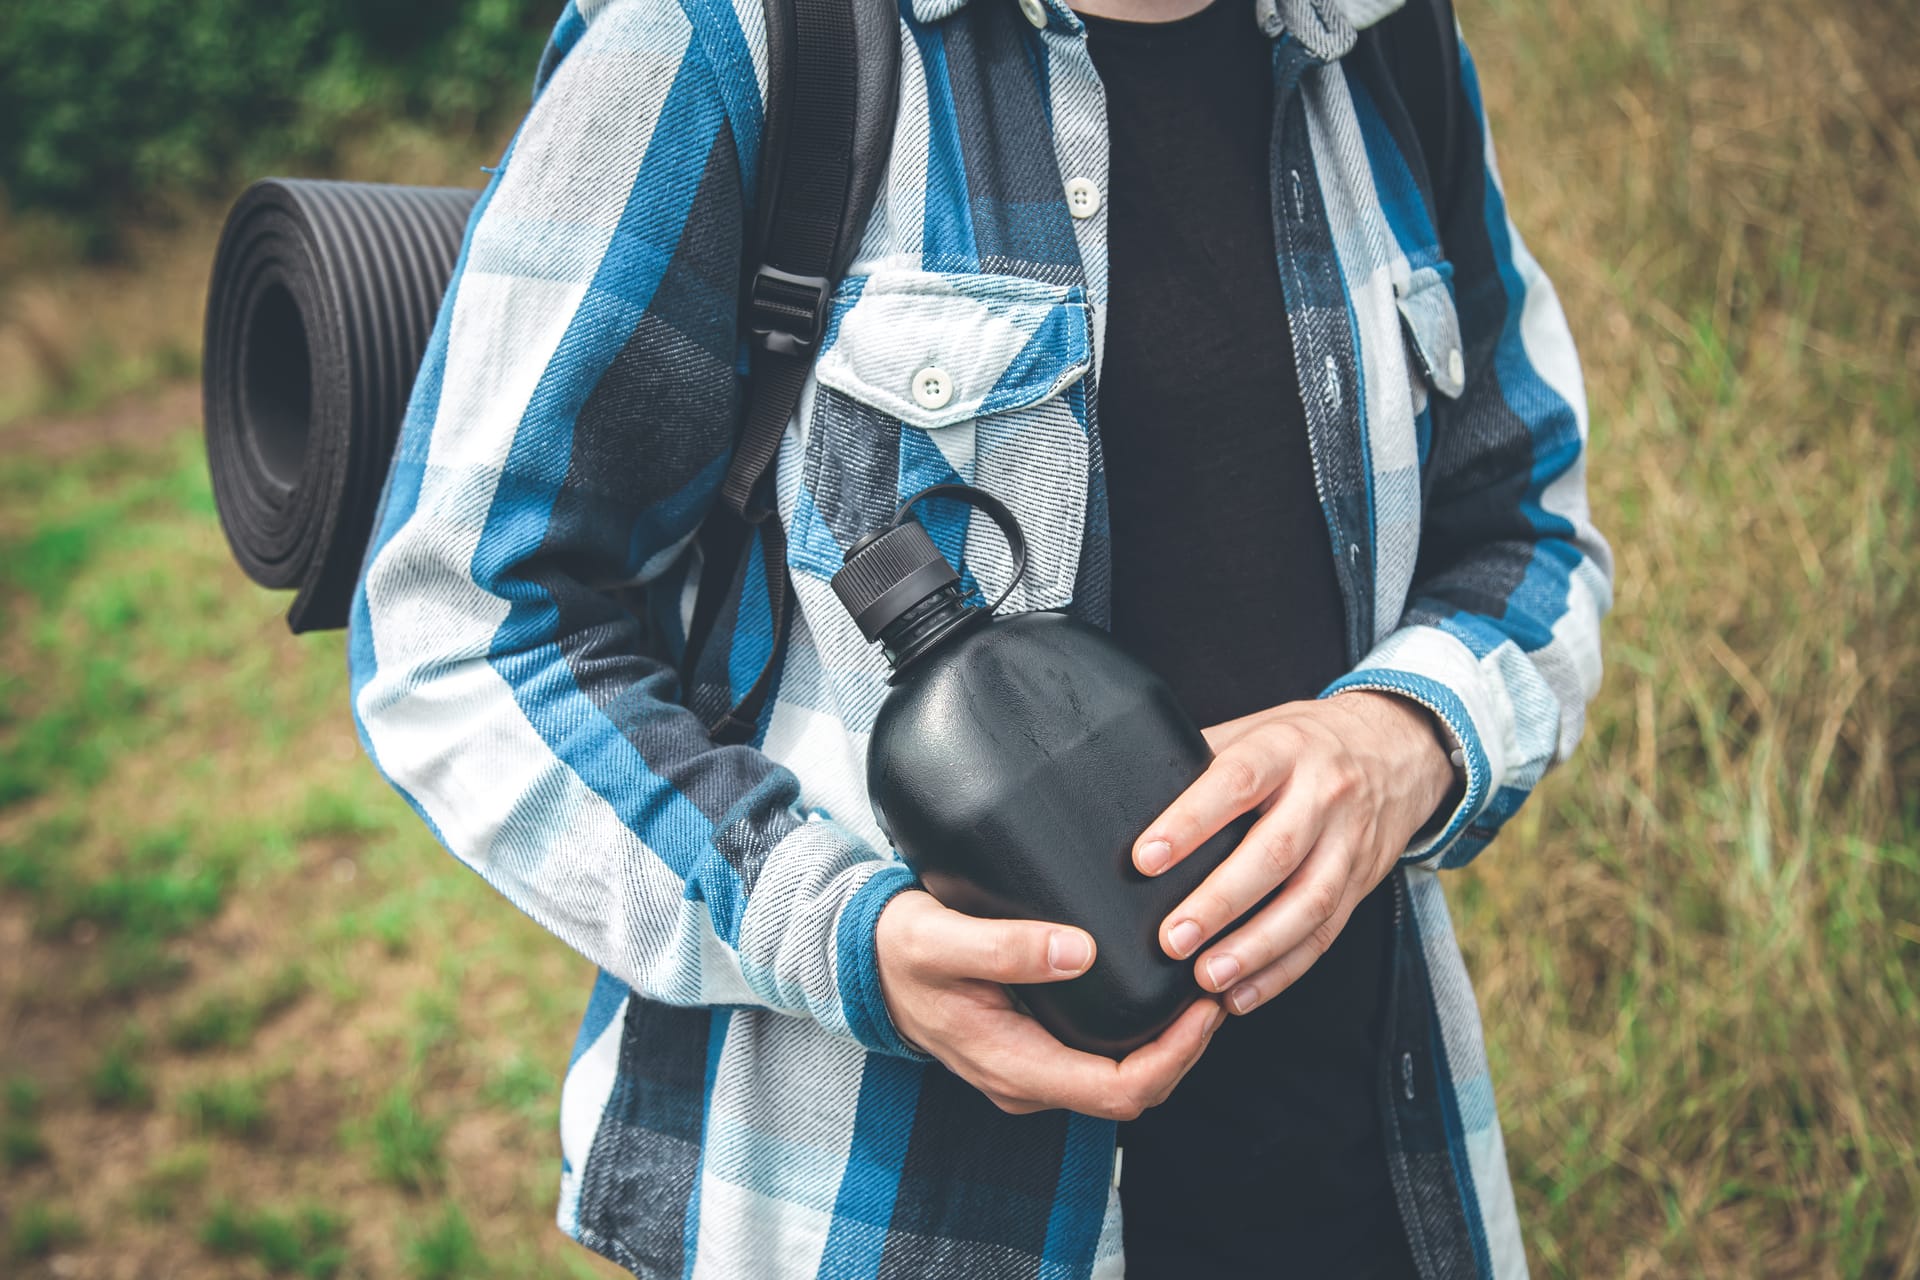
The bottle is the simplest form: a separate water bottle or flask that you carry in a side pocket or in your hand. The big advantage is overview. You can see at a glance how much you have left, you top it up easily and you clean it without trouble. There is no tube or reservoir that can leak or turn musty.
The downside is that you have to reach for it to drink. On a relaxed walk that is no problem, but if you are on the move a lot and do not want to keep stopping, in practice you often drink less than you would like. A bottle is therefore a sensible choice for shorter trips, daily use and situations where overview and ease of cleaning matter most.
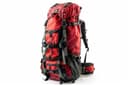
The hydration bladder (hydration system)
A hydration bladder, also called a hydration system, is a flat reservoir that you carry in a special compartment or against your back in your backpack. Through a tube with a mouthpiece over your shoulder you drink without taking the pack off. As a result you often drink small sips in between, which helps you keep drinking regularly instead of only when you are really thirsty.
The flip side is that you can see less well how much water is left, and that the reservoir and the tube need maintenance to stay clean and mould-free. A hydration bladder suits longer trips, warm days and activities where you would rather not keep stopping. Further on in this overview you can read how to carry a hydration bladder in your backpack and how to keep it clean.
Bottle or hydration bladder: what suits your trip
The choice between a bottle and a hydration bladder is not a matter of right or wrong, but of what suits your way of being out. In short: a bottle gives overview and convenience, a hydration bladder makes drinking on the go easier so you do it more often. Many people even use a combination, for example a hydration bladder for drinking on the go and a separate bottle as a backup or for a quick top-up.
Which form works best for you depends on the length of your trips, the weather, how often you want to stop and how much maintenance you want to do. Because that trade-off is a topic in itself, we have a separate, detailed overview for it. If you want the full comparison with the pros and cons per situation, read the overview about carrying water on the go and the choice between a bottle or a hydration bladder. There you will find which form makes more sense per scenario, so you make a choice that fits your trips.
How much water do you take?
How much water you need depends on several things: how long you are out, how warm it is, how heavy the effort is and how much you sweat. There is no fixed number that always holds, but a few rules of thumb help you avoid setting off with too little or needlessly too much.
The main line is simple: estimate how long you will be out and how warm and demanding the trip will be, and match your amount to that. On a cool, relaxed walk of a few hours you need less than on a warm day with serious effort. Also keep in mind the option of topping up along the way: if you can safely get water somewhere, you do not have to carry everything from the start. If not, you would rather take a bit extra.
A few practical points to base the amount on:
- the length of your trip and whether you can top up in between
- the temperature and whether you walk a lot in the sun
- the intensity of the effort and how quickly you sweat
- whether, besides water, you also eat something that contains moisture
Because the exact amount differs per trip, we have a separate overview for it with more concrete guidelines per type of trip. If you want to go into this more deeply, the overview about how much water you take and how to choose the right amount per trip will help you further. Use the rules of thumb above as a starting point and tune the rest to your own experience.
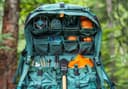
A hydration bladder in your backpack: what to look out for
If you go for a hydration bladder, the way it sits in your backpack largely determines how pleasant it is to use. Many backpacks have a separate compartment against the back where the reservoir sits flat against your back, with an opening for the tube and a loop to fix that tube in place. A hydration bladder that fits the pack well stays in place and does not throw off the balance.
When fitting it, pay attention to a few things in particular. The reservoir hangs most comfortably flat and as close to your back as possible, so the weight of the water does not pull backwards. You route the tube over your shoulder to the front, to a spot where you can grab the mouthpiece easily without searching. And it helps if you can fill and place the reservoir without pulling the whole pack apart, because otherwise topping up on the go happens less often in practice.
Whether a backpack works well with a hydration bladder is therefore tied to the layout and carrying system of the pack itself. If you want to know what to look out for in a backpack, including when you want to use a hydration bladder in it, you will find the broader guidance in the overview about which backpack suits your use. There you can read how size, fit and layout together determine how a pack carries. You can browse the backpacks themselves at the outdoor backpacks.
Maintenance: keeping it clean and mould-free
A drinking system that you do not clean can start to smell over time or even develop mould, especially with a hydration bladder with a tube where residual water remains. With a separate bottle, cleaning is simple; with a hydration bladder it takes a bit more attention because the reservoir, the tube and the mouthpiece all stay wet.
The main line of maintenance is: empty your system after use, let it dry well and only store it once it is truly dry. Moisture left standing in a closed reservoir is the main cause of nasty smells and mould. By emptying it after every trip and leaving it open to dry, you already prevent most problems. Fill a hydration bladder preferably with clean water and be careful with sugary drinks, because they make it harder to keep clean.
Because a hydration bladder with a tube takes a few more steps to stay truly clean, and because dried-in mould is hard to remove, we have a separate overview for it. If you want to know exactly how to clean a hydration bladder and prevent mould, read the overview about cleaning a hydration bladder and preventing mould. Good maintenance is ultimately what keeps your drinking system doing what it is meant for.
The RFG water bottles and carriers in brief
RidgeFront Gear offers solutions for carrying water on the go that suit use in practice: from separate bottles and flasks to carriers and systems for taking water in your backpack. The starting point is functional and clear, so you choose based on how and how long you are out.
If you are looking for a simple, easy-to-clean solution, a separate bottle is often the most practical. If you make longer or warmer trips where you want to drink more often in between, a hydration bladder is worth considering. You can browse the full range at the water bottles and water carriers. Use the considerations from this overview, form, amount, placement and maintenance, as a framework to decide what suits you best.
Conclusion
Carrying water on the go comes down to three connected choices: which form you use, how much you bring and how you maintain your system. A bottle gives overview and convenience, a hydration bladder makes drinking on the go easier. You match the right amount to the duration, the weather and the effort, and with good maintenance your drinking system stays clean and usable. Start from how you are out, and choose from there; then you can be sure you drink enough without needless weight.
Frequently asked questions
What is a camelbag?
Camelbag is a commonly used name for a hydration bladder or hydration system: a flat reservoir that you carry in your backpack and drink from through a tube with a mouthpiece. The term comes from a well-known brand and in practice is often used for this type of product in general.
What else is a hydration bladder called?
A hydration bladder is also called a hydration system, drinking system or camelbag. It always comes down to the same principle: a reservoir with a tube that lets you drink on the go without taking your backpack off.
How long does water stay good in a hydration bladder?
Clean water that you have just filled is usually perfectly fine to drink on a trip. If you let water stand in the reservoir for a longer time, the taste can deteriorate and the system can start to smell. The main rule is: fill with clean water before your trip, empty the system after use and let it dry, and do not leave water standing for days in a closed hydration bladder.
How much water do you need per hour?
That differs per person and situation and cannot be captured in a fixed number. The need depends on the temperature, the intensity of the effort and how much you sweat. The practical approach is to drink small sips regularly instead of waiting until you are really thirsty, and to match your amount to the duration and the conditions of your trip.
Do you know how you want to carry water on the go? Browse the selection and choose a bottle or hydration bladder that suits your trips.